")

and make something adorable today
Get my free Pacifier Clip Pattern
Diaper Stacker Sewing Pattern Sew-A-Long
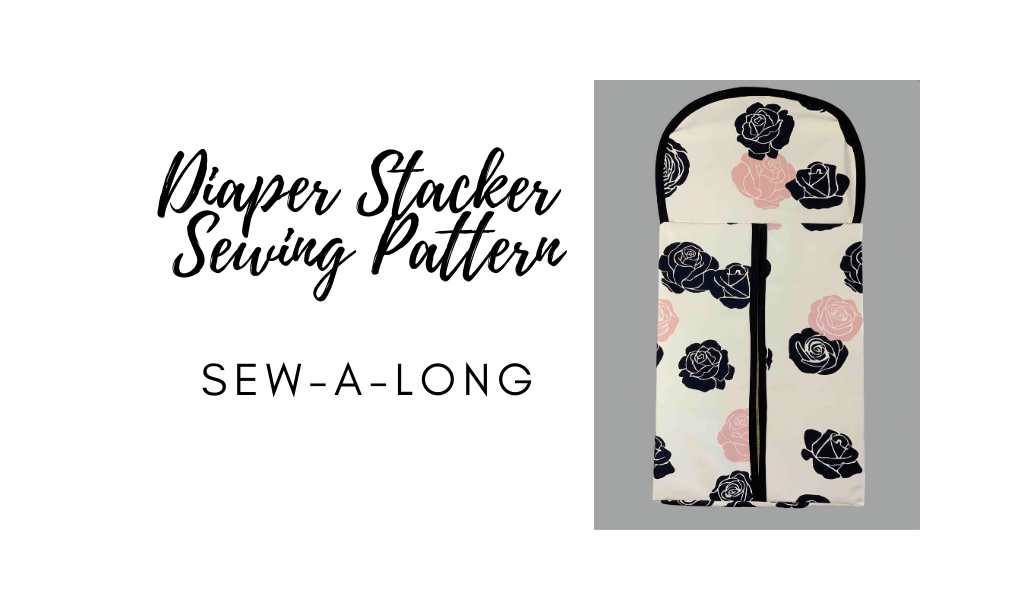
Thank you for purchasing my diaper stacker sewing pattern either from my Etsy shop or my website! All the information that you need to complete the diaper stacker is in the pattern, but if you are looking for additional help, you came to the right place! Please do not hesitate to contact me with specific questions or leave them in the comment box below for others to read. This Sew-A-Long is designed to help you make the diaper stacker without bias tape. If you are looking for the basic pattern Video Sew-A-Long Click Here.
Materials List for Diaper Stacker Sewing Pattern
View A – Hanger Top
- 1 yard of 45” – 60” wide fabric
- Hanger measuring 9 – 10” with a swivel top
- 1 package of extra wide double fold bias tape
- Heavy card stock or 1 Piece Peltex 72f Ultra Firm Fusible measuring 7 3/4” x 11 3/4”
- Add -On Purchase of Hanger and Peltex bottom
View B – Square Top
- 1 1/4 yard of 45” – 60” wide fabric
- 1 package of extra wide double fold bias tape
- Heavy card stock or 1 Piece Peltex 72f Ultra Firm Fusible measuring 7 3/4” x 11 3/4”
Where to Buy Materials (Diaper Stacker Sewing Pattern)
This post contains affiliate links.
- Fabric – The fabric I use to make this beautiful diaper stacker is from Fabricworm.com
- Bias Tape – I used a bias tape maker to make my own. I highly recommend using this product. Bias Tape Maker
- I have a listing for Petlex stabilizer and hanger for purchase in my shop. Otherwise you can purchase the stabilizer here and hangers here.
How to Make the Diaper Stacker without Bias Tape
These instructions are only for those who want to make the diaper stacker without bias tape. If you are using bias tape, click here for the regular sew-a-long. You can easily make it without bias tape with a few minor adjustment to the pattern pieces. The adjustment must be made to a few pieces because they do not have a seam allowance where the bias tape is applied. In the next few steps, we will add them.
The first piece that has to be adjusted is the Top Piece #1 (View A only) and the second pattern piece is the Body Piece #2 (View A and B)
For View A Only – Top Piece #1
For the Top Piece #1 in View A – extend only the top curve by 1/2″. Do this for both top pieces. Mark the dot on both pieces as well.

Next, for stitching the top of the diaper stacker, the instructions will be slightly different if you are not using bias tape.
Place the top pieces right sides together and stitch to the dots along the curved edge using a 1/2″ seam allowance. Leave the 1″ hole in the middle to insert the hanger. Trim the seam allowance, and turn the top right side out.


The finished bottom measurement for the top piece a should be 12″ from seam to seam.
For Views A and B – Body Piece #2
The second adjustment – For the Body Piece #4 in both Views A and B, extend the center front section by 1″ ONLY IF NOT USING BIAS TAPE.


Next, fold the 2 center front pieces that were extended under 1″ and then again 1/2″ creating a hem. Fold the hem to the wrong side of the fabric.

Stitch each hem close to the folded edge. Now the cut pattern piece should measure the same size as the original pattern piece. You can continue making the diaper stacker without using bias tape.

Now, You have now completed the necessary steps to make the diaper stacker without bias tape. To continue, go to the instructions on Page 10 for View B and Page 13 for View A.
I hope this Diaper Stacker Sew-A-Long has helped you to make the final project without bias tape!
Please like my YouTube video if you found it helpful. Subscribe to my channel or leave a review on my website.
Leave a Reply

Before you join anything, just try one project.
This Pacifier Clip Pattern is where hundreds of new sewists have started. It’s short. It’s sweet. And it’ll give you that first “I did it!” moment.
It includes:
A printable pattern you can cut and use right away
A detailed supply list (no guesswork)
Step-by-step instructions with photos
A clear win to boost your confidence
Grab the Freebie That Starts It All


